
During that period, up until around September 2022, I was mainly focused on painting. I had an easel and a metal stand that held my palette for mixing colors. Here are some of my best paintings from that time.


The problem was simple: I had nowhere to store my paints and brushes. Tubes of paint, jars, mediums, brushes – everything was scattered around the stand, the floor, and any nearby surface. Since the metal stand had some empty space under the palette, the idea came naturally – why not build a drawer unit that would fit perfectly under it?

So I took my tape measure and wrote down the dimensions:
depth: around 35 cm,
height: 55 cm,
width: 45 cm.
That was enough to start imagining a small cabinet with three drawers, each one dedicated to something – paints, brushes, paper, and other tools.
The idea for a 3-drawer cabinet
This became my second real woodworking project. The idea was there – now came the hard part: actually building it. There were so many new questions bouncing around in my head:
How do you even build a drawer?
How are slides and runners installed?
How do you measure and cut the boards accurately?
What kind of saw do I need for straight, clean cuts?
In my first project, I quickly realized that cutting with the first cheap saw I bought was a struggle. The cuts weren’t straight, the wood tore out, and I was fighting the tool more than the material.
Naturally, I turned to YouTube. It’s an endless source of tutorials for any beginner. I started watching video after video on “how to build a drawer”, “how to install drawer slides”, “basic woodworking joints”, and more.
From that moment, my YouTube app turned into a woodworking feed. The algorithm picked it up immediately and began recommending woodworking channels, tool reviews, joinery tutorials and project ideas. I subscribed to a few channels that caught my eye and started watching at least one video a day.
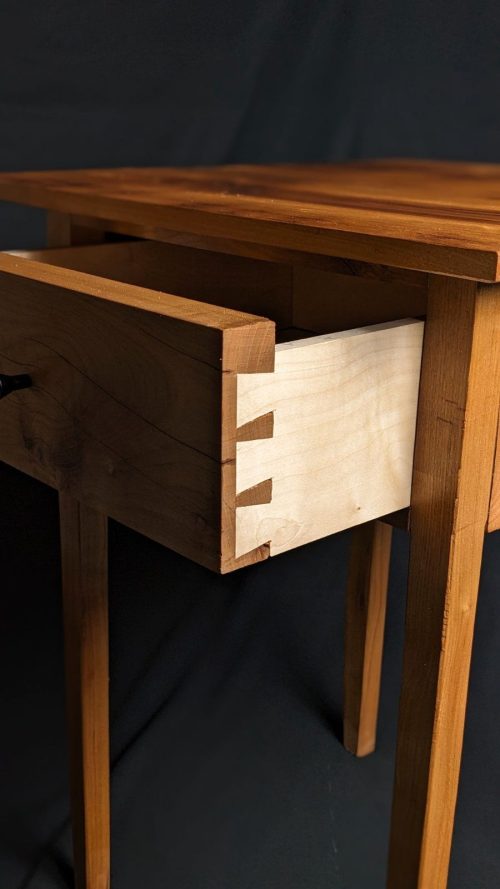
Discovering different types of wood joints
Very quickly I discovered that there are many ways to join pieces of wood. At that stage, to be honest, I didn’t really care about beautiful joinery – I simply wanted to end up with a functional drawer, even if it was held together with visible screws from the sides.
That is also the simplest and fastest joint: put two boards at a right angle and drive a few screws in. Done.
But of course, it doesn’t look very nice. The screw heads are visible and the drawer looks rough and unfinished. From the videos I watched, I learned about the pocket-hole joint. With pocket holes, the screws are drilled at an angle and hidden inside the wood, so from the outside the drawer still looks clean and wooden, without visible metal. For this project I started thinking: maybe I should try that.
In a future article I plan to go into more detail about pocket-hole joinery and how it can be used for simple cabinets and drawer units.
Problems with cutting the boards
The first step for this drawer unit was to prepare the boards. I started cutting with a basic hand saw I had bought from a hardware store. It was cheap and, as it turned out, not very accurate.
When I placed the cut board on a flat surface, I could clearly see a large gap – the cut wasn’t straight, and the wood was twisted and uneven. At that moment, I didn’t worry too much about perfectly flat boards. My only goal was: just build a drawer. I decided to keep going and promised myself I would solve the “flat and square” problem in one of the next projects.
Another thing visible on the board was the direction of the wood grain. The grain wasn’t running horizontally along the length of the board, but across it, which is not ideal. That has consequences for wood movement and stability over time. But topics like wood expansion and grain direction deserve their own separate article.
On the second side, the cut was a little better – still not perfect, but at least closer to what it should be.

What’s next?
In one of the next articles, I’ll show how this 3-drawer cabinet actually turned out – the proportions, the joinery I ended up using, and what I would do differently now with a bit more experience in woodworking.


Leave A Comment