As I mentioned in the previous article about my second project – the small 3-drawer cabinet – pocket hole joinery is a great way to hide screws and keep a clean, wooden look on your furniture. Instead of seeing screw heads on the outside of a drawer or cabinet, the screws are hidden inside angled holes. The result: a much more refined and professional appearance, even for a beginner.
What is a Pocket Hole Joint?
A pocket hole joint is created by drilling a hole at an angle into one piece of wood and then driving a screw into another piece. The screw pulls the two boards tightly together. Because the hole is angled, the screw head is hidden in what looks like a small “pocket” on the inside of the piece, not visible from the outside.
This is especially useful when you want to:
join boards at a right angle (for example, drawer sides to a front or back),
build simple cabinets or frames,
assemble furniture quickly without complex traditional joinery.
Using a Pocket Hole Jig
Yes, you can drill angled holes by hand, but in practice almost everyone uses a pocket hole jig. That’s what I did as well.

The jig is a small tool that helps you position the drill at the correct angle and depth every time. The one I bought came with:
a special step drill bit designed for pocket holes,
a depth collar to control how deep you drill,
and a driver bit for the screws.
You clamp the jig to the board, set the depth according to the thickness of the wood, and drill through the guide holes in the jig. This creates neat, repeatable pocket holes without guessing or eyeballing the angle.

How Pocket Hole Joinery Works in Practice
If you’re not sure how it all comes together, YouTube is full of detailed tutorials that show the process step by step. Watching a few videos helped me understand:
Where to place the holes (how many per board, how far from edges).
Which screws to use (length and type depending on wood thickness).
How to clamp the pieces so they stay aligned when driving the screws.
Pocket holes are perfect for joining two pieces at a right angle, for example:


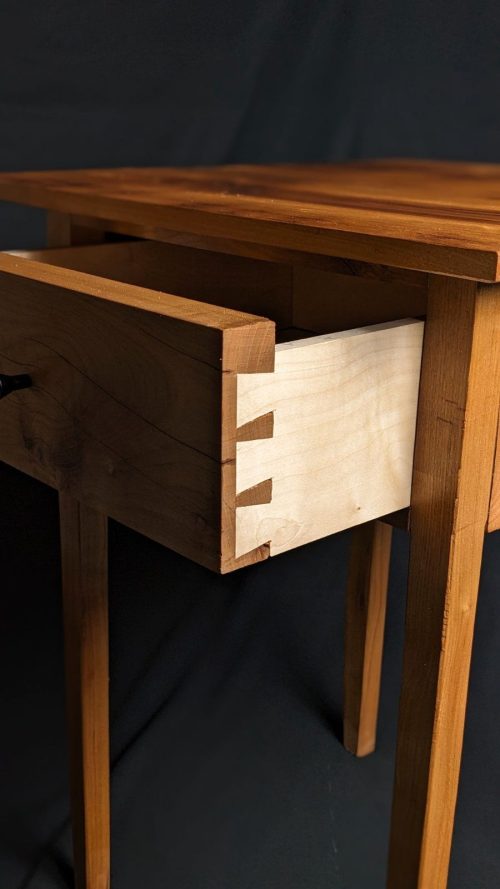
building the sides of a drawer,
assembling the cabinet carcass of a small drawer unit,
attaching stretchers, supports or frames.
For a cabinet side, you might drill three pocket holes along one edge and drive three screws into the adjoining piece. From the outside, all you see is clean wood – no visible fasteners.
Hiding the Holes Completely
Even though pocket holes are usually on the inside and not visible in normal use, there are ways to hide them completely if you want a cleaner interior.
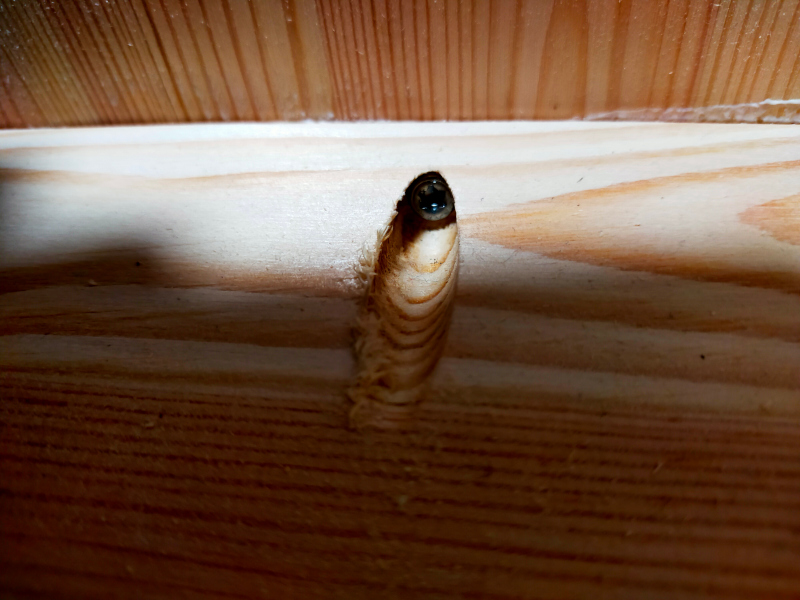
There are special pocket hole plugs you can buy – small, angled wooden dowels that fit perfectly into the pocket. You glue them in, let them dry, and then sand them flush. With some care and a matching wood species, the pocket hole almost disappears in the grain.
This is especially nice for pieces where the inside is also visible and important, like open shelving or cabinets without doors.
How to Get Started with Pocket Hole Joinery
The best way to learn pocket holes is not just by drilling random tests in scrap wood. My recommendation is:
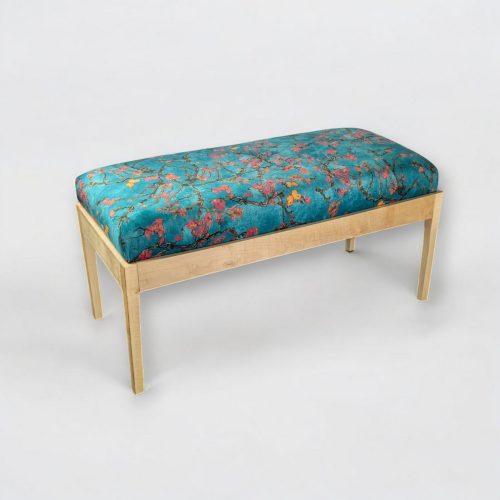
Pick a simple project – a small shelf, a drawer unit, a side table frame.
Plan it so most of the joints can be done with pocket holes.
Build the project from start to finish.
Practicing on two boards is useful to understand how the drill and jig work, but it doesn’t give you the same satisfaction or experience as completing a full piece of furniture. When you build a whole project, you learn:
how to plan your joints,
where to hide your pocket holes,
how to clamp parts so they don’t shift,
and how pocket hole joinery fits into real-world woodworking.
Once you finish that first project, you’ll not only have a functional piece of furniture, but also a solid, practical understanding of pocket hole joinery that you can apply in all future builds.

Leave A Comment